Wednesday, October 12, 2011
Good day


Sunday, December 5, 2010
Silver Inlay
A few people have been asking me about the process that I’m using to engrave my black powder pistol. Let me start by saying that this is only the way I do things, it is not necessarily the only or best way and if I find a better way then I will do that. I first drew a pattern using a drafting pencil on Mylar film. I decided on a skeletal scroll design that would have all the lines inlayed with silver to contrast the color case on the lockplate and browning of the barrel. After some refinement I scanned the patterns into the computer and tweaked and resized them in adobe illustrator.
I then apply some transfer fluid to the metal and print a reflection of the design on transparency paper. The ink is only lightly attached to the tooth of the plastic and can be easily burnished onto the workpiece. I then use a 90˚ square graver to cut the pattern. I then remove the ink lines and deepen the lines with a freshly sharpened square graver to achieve the desired width of line. To get the silver wire to stay in the metal the lines must be undercut so as to create a channel to hold the softer silver. I use a flat graver that has been ground to a point 8-10 thousandth wide. I use a scallop style cut as taught to me by Ray Cover in the bottom of the original v line as this lessens travel of the wire in the line while hammering.
After the undercut has been made I hammer the silver wire into the lines, this leaves a few thousandths of silver above the level of the metal. This is taken down to flush with a combination of draw filing, polishing paper, and Gesswein stones.
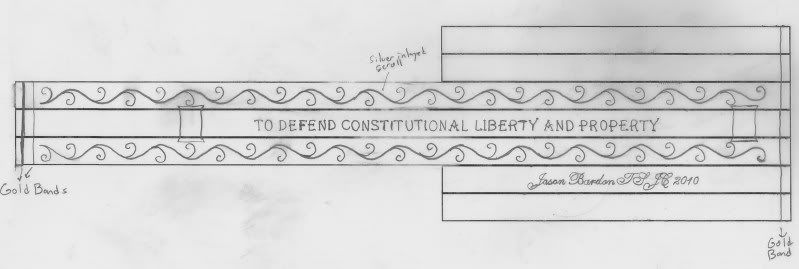 The initial design for the barrel.
 Barrel design final after work in illustrator.
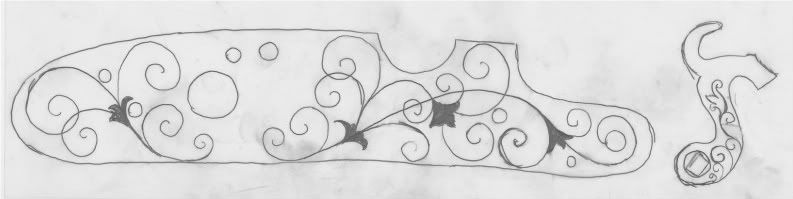 Initial lockplate designRefined lockplate design.
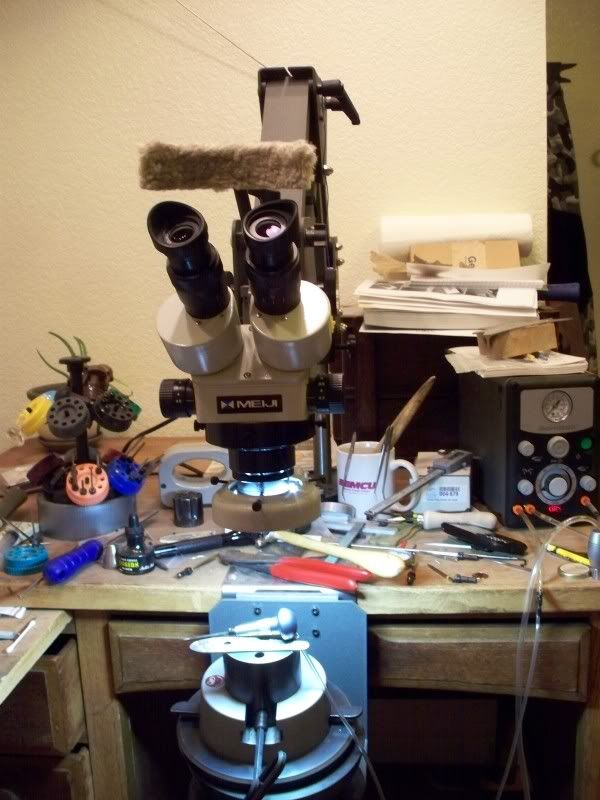 My messy bench.
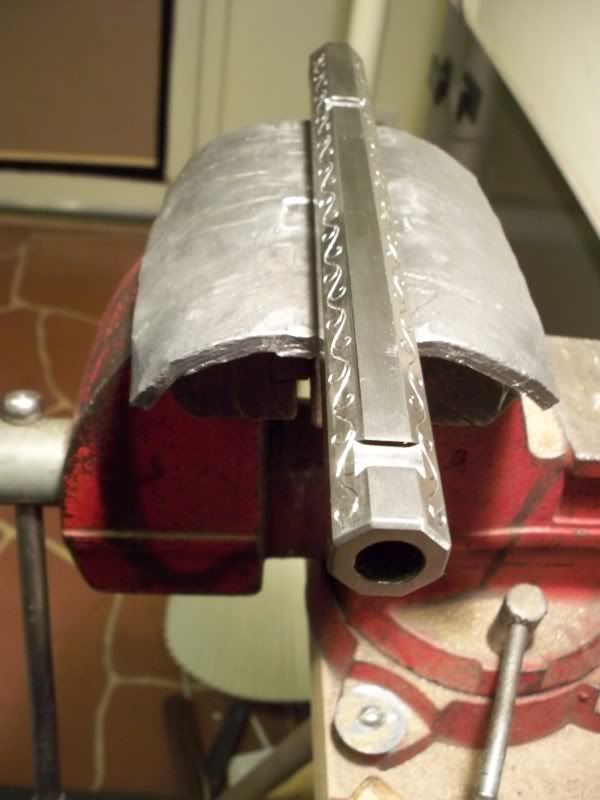 barrel all cut ready to inlay.
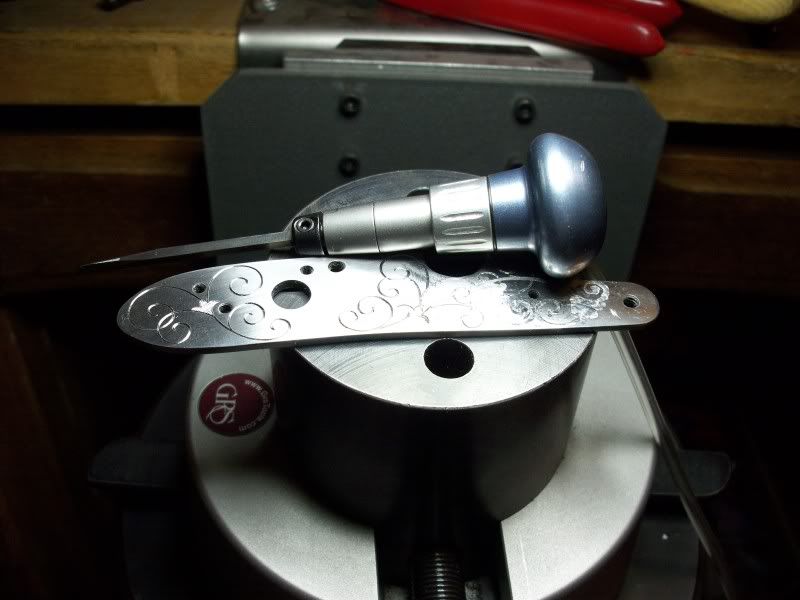 Monarch handpiece with lockplate in process.
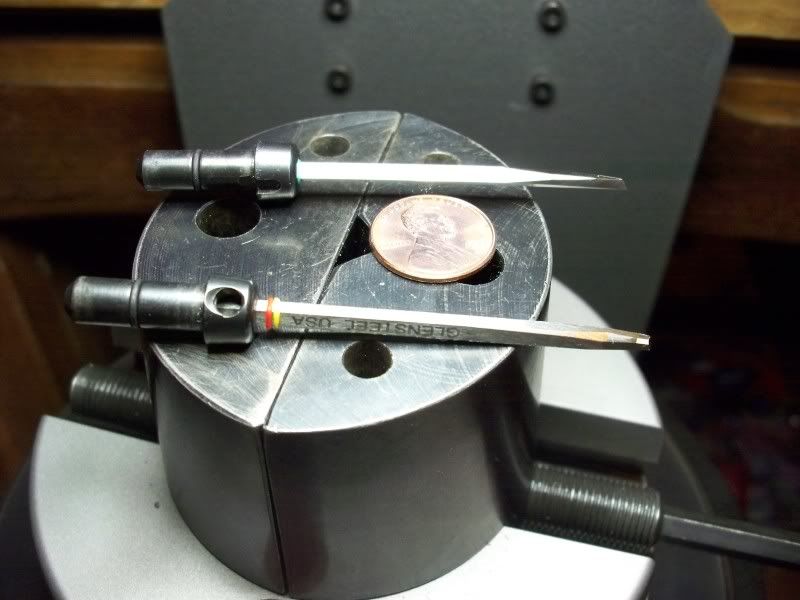 The gravers i used.
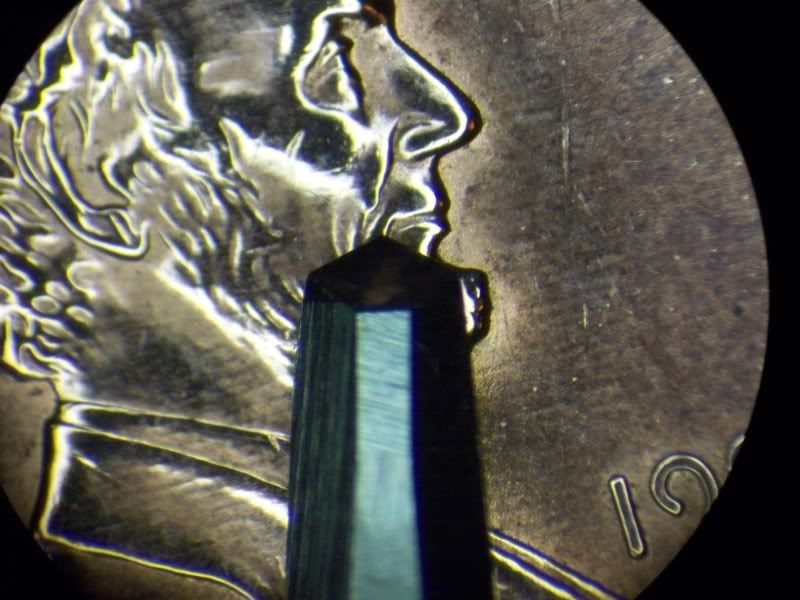 Square graver with penny for size reference.
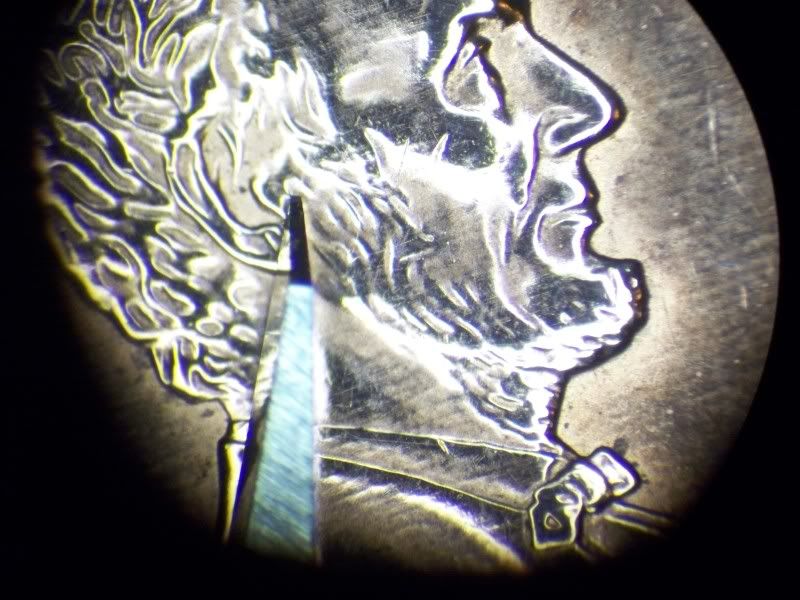 Flat undercut graver with penny for reference.
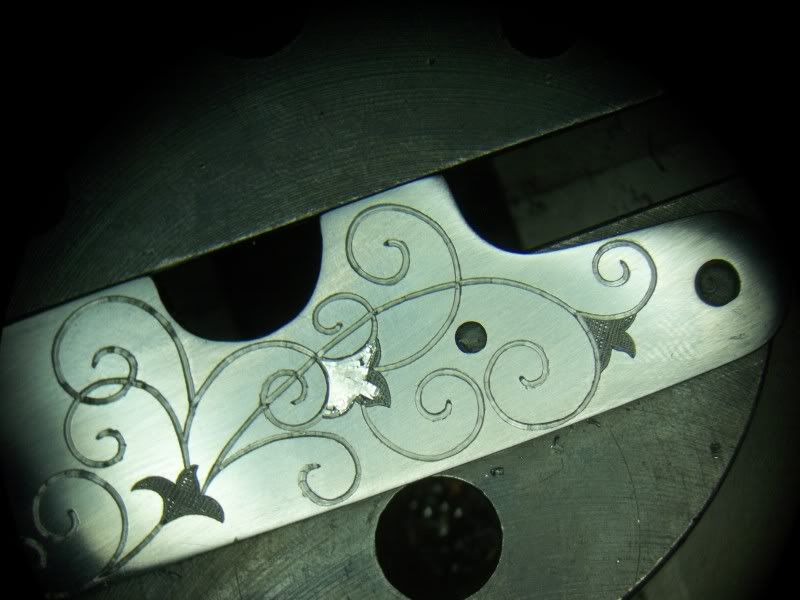 Lockplate in process under scope
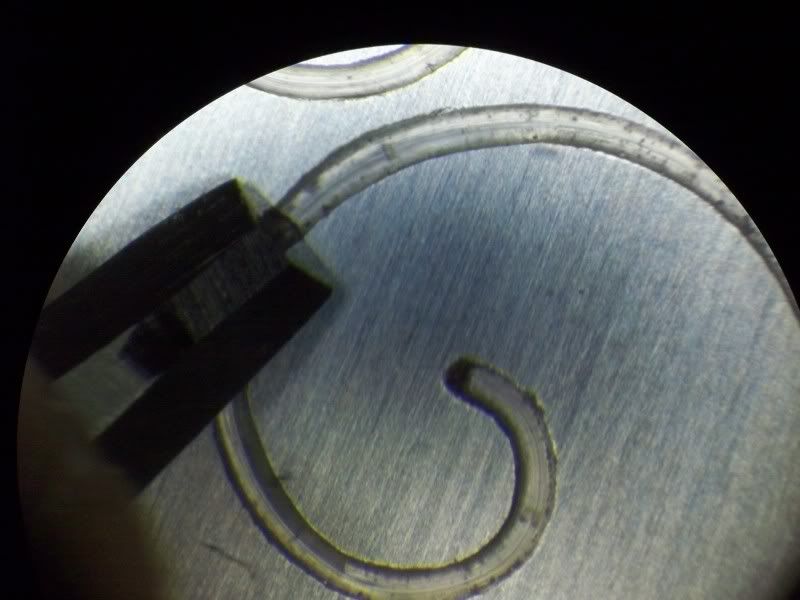 Cutting initial lines
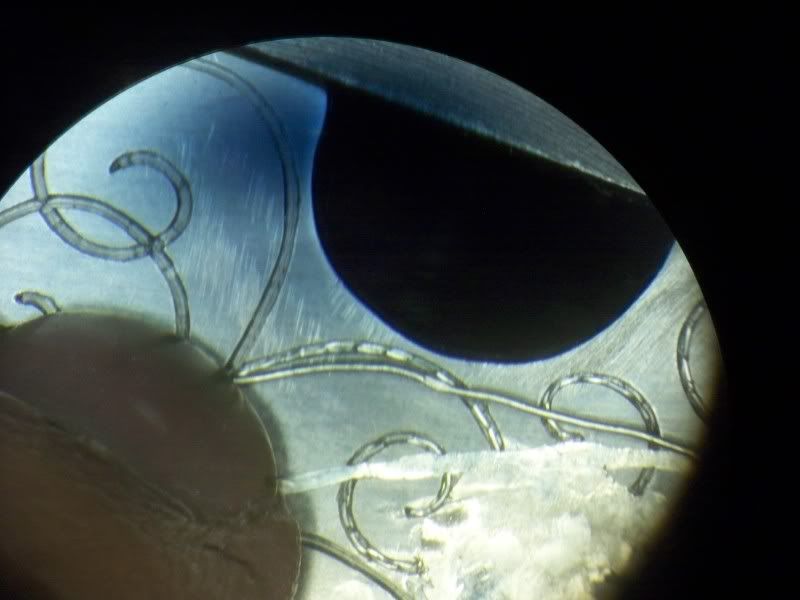 Inlaying silver into scalloped undercut lines
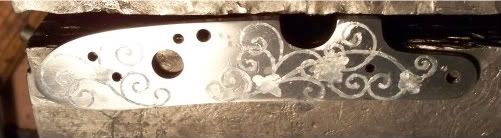 Silver hammered in prior to sanding.
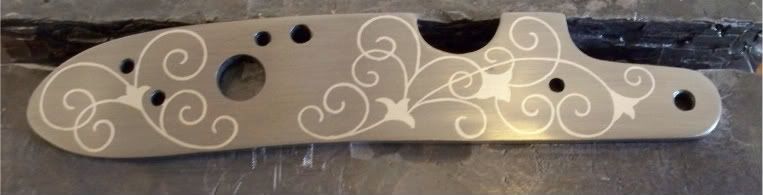 Finished inlay ready for color case hardening.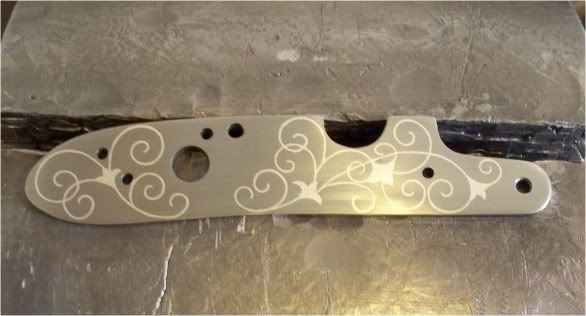
Monday, February 9, 2009
Engraving Practice Plates

Working with Adobe Illustrator has been quite an experience, allowing me to have a greater degree of precision in engraving layouts. On the right is an example of my very basic practice plate layout that would measure 2"x2". I then print the layout on transparency and can rub that onto a metal plate; this way I don't have to draw over and over on every new plate I want to cut.
The live trace function is also a big help, as i can make a quick sketch and then scan it into the computer click the live trace button and have a vector drawing ready for scaling. I can then smooth out my lines and make them all the same width for a better transfer when i print it.